Apr 14 2013
It’s a Flip-Flop Card! * TLC425
Hi there, everyone! I’m here to share a fun way to make & give a gift card for
this week’s TLC425 Challenge over at Splitcoaststampers! Let’s get started!

SUPPLIES:
Cardstock 4.25″ X 11″
Patterned paper 4″ X 10.5″
Scoring Tool / Paper Trimmer
Image of choice
Embellishments as desired (Optional)
Adhesive
Bone folder
~
~
~
~
 ~
~
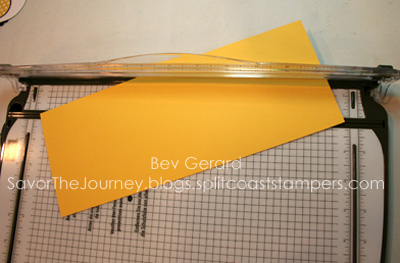
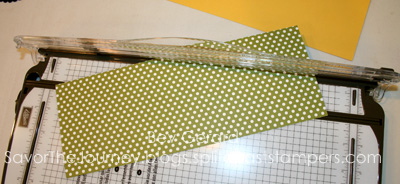
Lay the cardstock on your scoring tool/trimmer with both the top right corner and the lower left corner lined up for scoring a diagonal line across the cardstock.
~
~
~
~
 ~
~
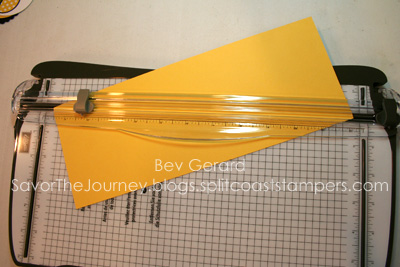
Score the diagonal line from top corner to opposite bottom corner of your cardstock.
~
~
~
~
~
~
~
 ~
~
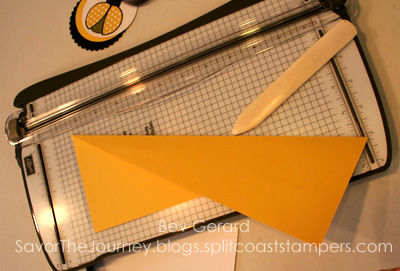
Use a bone folder to crease the diagonal line you’ve just scored. The next photo shows another view of the folded cardstock.
~
~
~
~
 ~
~
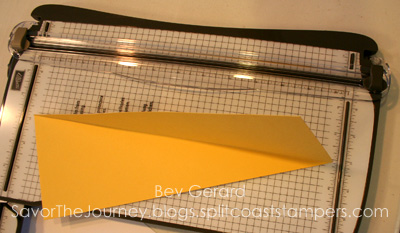
Here’s the cardstock completely creased.
~
~
~
~
~
~
~
~
 ~
~
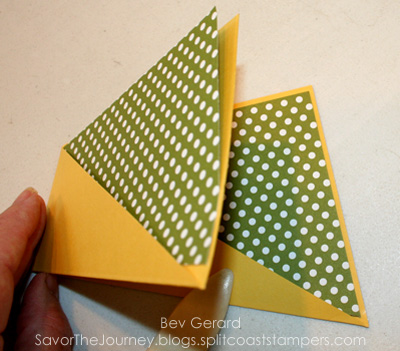
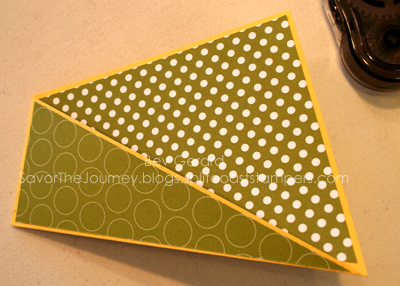
Now we’re folding the cardstock in half. Match the corners as shown before sharpening up the crease with the bone folder.
As you’ll see, this is creating a card with a triangular ‘pocket’ on the front and on the inside.
~
~
~
~
~
~
~
~
 ~
~
Set the folded card base aside.
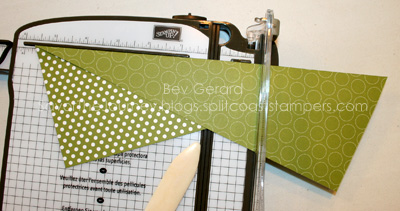
Lay the patterned paper on your scoring tool/trimmer with both the top right corner and the lower left corner lined up for cutting a diagonal line across the cardstock. (Yes … this time we’re cutting.)
~
 ~
~
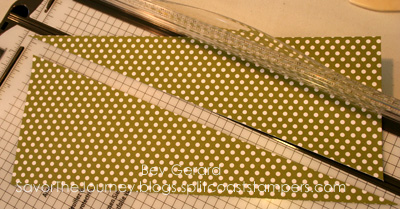
Here’s a quick view of the just-cut patterned paper.
~
~
~
~
~
~
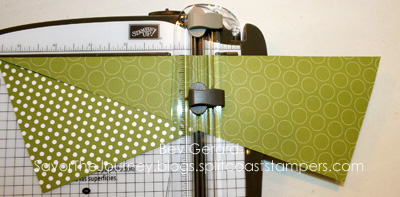
Turn the cut patterned paper to the top of your scoring tool/paper trimmer.
We’re going to shove the paper up to the raised guide for straight alignment as you’ll see in the next photo.
~
~
~
~
~
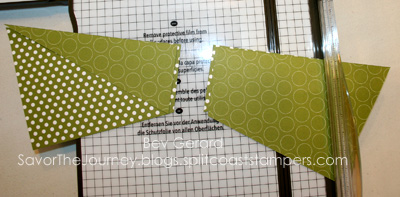
Flip down the topmost section of the cut patterned paper.
Push the paper up next to the alignment guide and match both ends (or corners) of the paper.
~
~
~
 ~
~
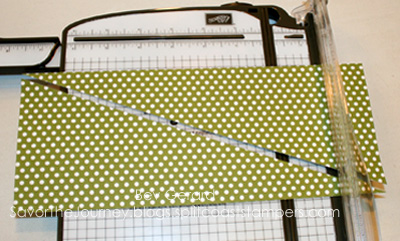
Locate the center point of the paper where the two pieces meet, as shown by my bone folder.
Position the papers to be lined up for cutting through the center point. Be sure the ends are still matched and the top edges are flush with the alignment guide.
 ~
~
Ready,
Set,
Cut!
~
~
~
 ~
~
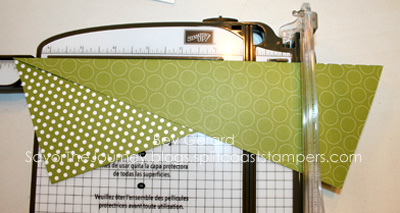
Now you have 4 funky triangle pieces of patterned paper!
They’ll be used to line and decorate the pockets on the folded card base.
~
~
~
~
You’re nearly finished!
It’s just a matter of finding the right pieces for lining the pocket interiors, and sprucing up the front portions of those pockets. Once you’re happy with placement, adhere the pretty papers and get ready to decorate as you wish!
~
~
~
~
~
 ~
~
This one is ready for finishing touches, inside and out!
~
~
~
~
~
~
 ~
~
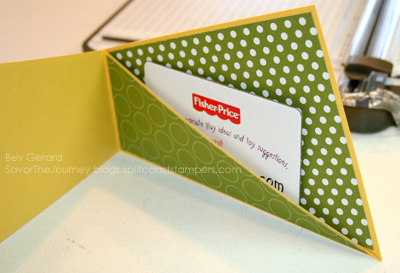
Need a gift right away?
Slip in a gift card!
(Psssst! A little mini glue dot will easily secure a gift card if you wish.)
~
~
~
~
~
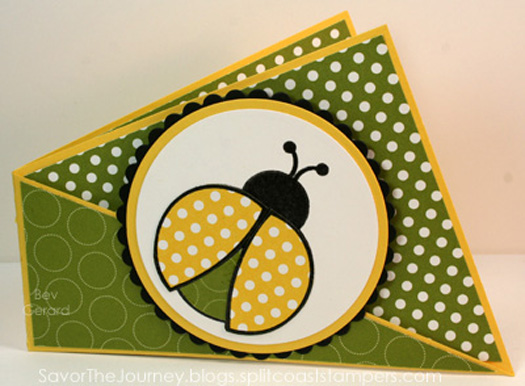
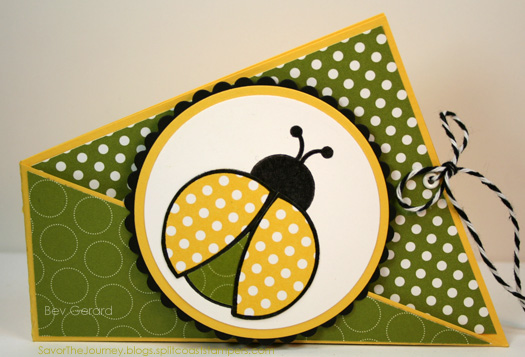
Here’s the streamlined version, all ready to give!
*** But wait!! If you’d like to jazz it up a bit, how about adding a closure, or switching to a greeting rather than a gift card, such as you’ll see below!
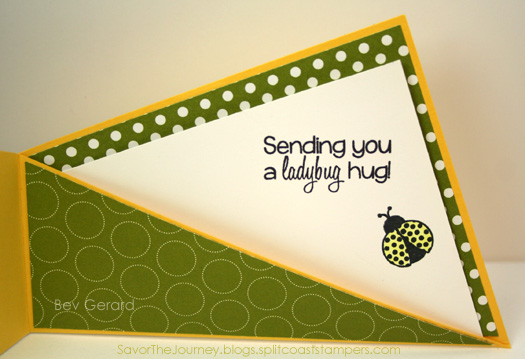
Alternate interior: Instead of a gift card, I’ve followed the previous cutting style to create a coordinating insert card. 😉
 ~
~
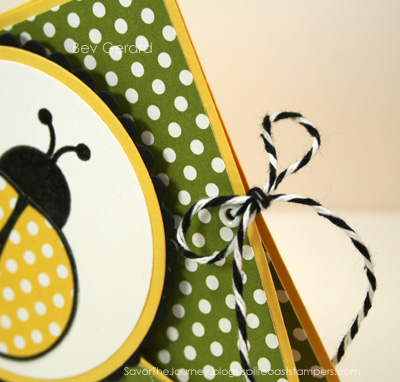
Or perhaps you would like to add a closure to your creation.
Here’s an option using eyelets and twine!
~
~
~
~
~
~
~
~
~
~
It’s your turn now! I hope you’ll enjoy Flip-Floppin’ your cardstock!
Thanks for sharing in the fun today, everyone!
![]() ~
~
~
Project Supplies Used:
13 responses so far


Thanks Bev for the wonderful tutorial, you can’t go wrong with bright colors and polka dots..so cute!
What a fantastic tutorial Bev! I have been meaning to try this. thanks for the pictorial! Fantastic gift card holder!
Thanks, Bev. I made this criss-cross card months ago and it was a fun project. Congrats on posting a wonderful tutorial …. you did an awesome job. Love your card with it’s bright and cheery papers.
Wow, this is adorable! Thanks for the fabulous tutorial, Bev.
Awesome tutorial, Bev. Have to give this a try. If you have a recent version of Word, you should be able to create a PDF file. Just write up your post in Word then click “Save and Send” in the left hand column. You will a see a button that says “Create a PDF”. It does it for you! Easy, peasy, lemon squeezy!
How creative!!! Great job on the tutorial. Can’t wait to give this a try. Thanks for taking the time to explain and show each of the steps involved in making this project.
Bev, this is as cute as can be and thank you so much for the tutorial!
Thanks Bev for this great tutorial:) Love how easy you made it to follow!
Cute cute cute! Will have to try it.
Thanks Bev. this is beautiful. Lovely easy instructions. Will give it a try.
oh my goodness! this rocks!!! i love it! thanks for instructions. going to try this soon 🙂
I love the folds, totally fun!
So fun and cheery, Bev!